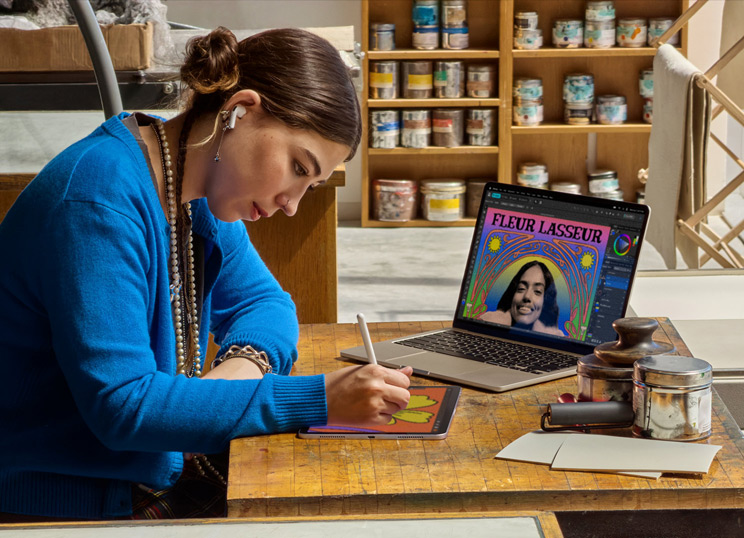
Stella S., Visual Arts and Art History, Class of 2028.
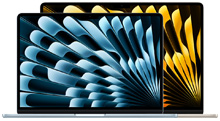
Stella uses design apps across Mac and iPad to create and edit artwork, and is learning to code to take her creativity even further.

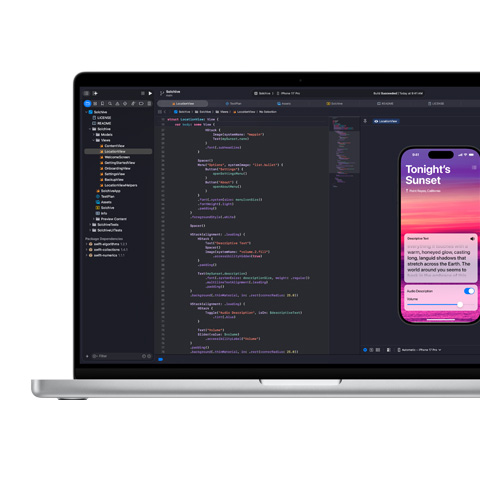
Computer Science with Xcode

Neuroscience with Goodnotes

Industrial Rendering with Shapr3D

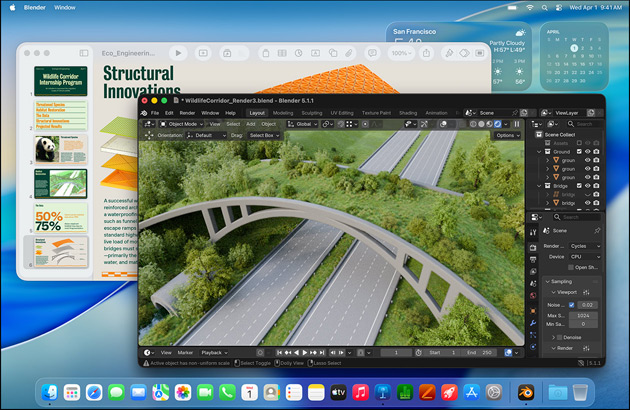
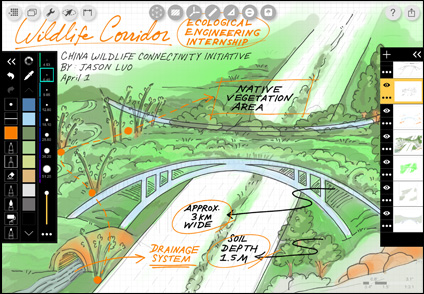
Structural Engineering with SketchUp

Biology with Pages

Marketing with Canva

Natural Science with Microsoft PowerPoint

Business Analytics with Microsoft Excel
No matter what you study, ace it with Mac and iPad. Whether you’re analysing data, collaborating on projects or bringing ideas to life, you can count on exceptional performance, long battery life and devices that work together seamlessly — from your first lecture to your next chapter.
Stella uses design apps across Mac and iPad to create and edit artwork, and is learning to code to take her creativity even further.

Yassin uses Mac to run powerful coding apps for his AI coursework and for his startup that fights heart disease.

Leo uses iPad and Apple Pencil to seamlessly add figures and diagrams to his lecture notes and to sketch artwork for his music gig posters.

On Mac, Angie conducts research and analyses for her chemistry labs and learns to mix and produce music in her free time.
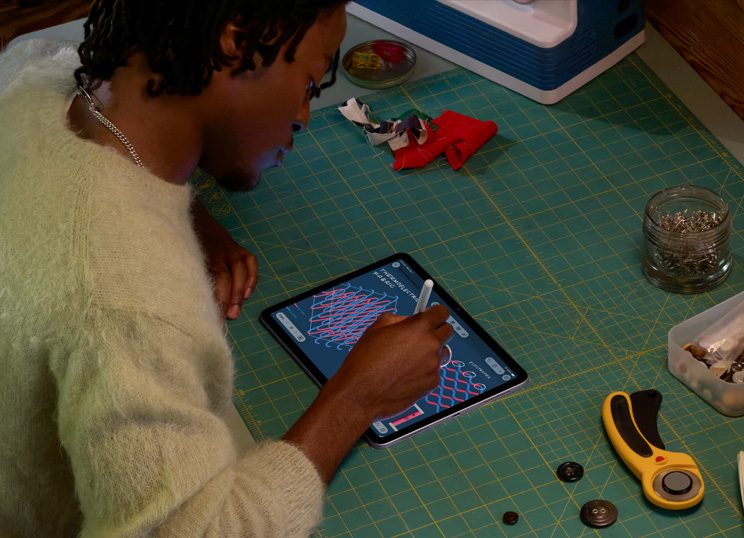
Deinbo uses iPad with Apple Pencil to draft schematics in his engineering lectures and design clothing for his side hustle.

Marjorie uses Mac to run intensive data analyses for her course and to edit videos for social media.
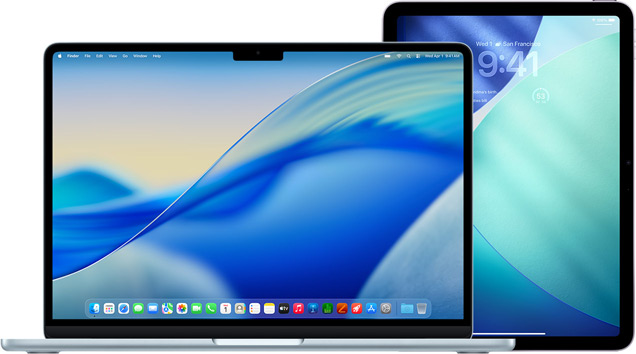
Both are powerful on their own, and together they unlock even more possibilities.

Work where inspiration strikes. With Mac and iPad, you get long battery life — so you can stay focused without needing to plug in.1
Mac and iPad help you take on whatever lectures throw your way with the incredible speed, responsiveness and breakthrough performance of Apple silicon.
Tap into even more capabilities on iPad with Apple Pencil. Transform handwritten notes to text, mark up PDFs for seminars, and solve equations as you would on paper with Calculator and Maths Notes.2

Use window tiling to arrange windows side by side, so you can manage multiple tasks and move between apps effortlessly.
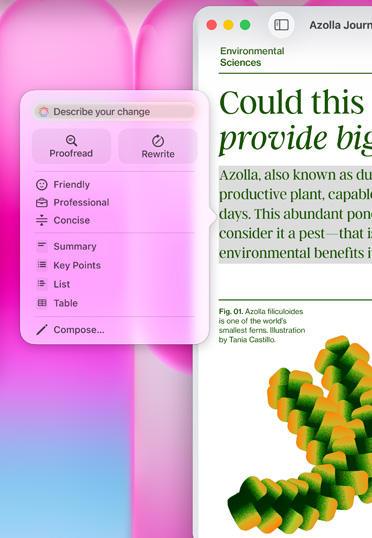
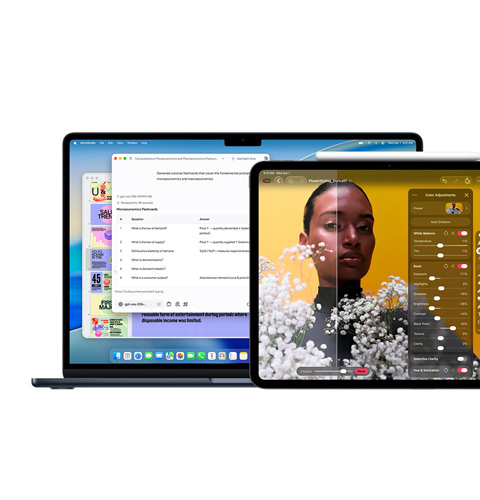
Writing Tools in Apple Intelligence can instantly make your email and notes more concise, rewrite them until the tone and wording are just right, and summarise selected text with a click or tap.3
Available in selected languages
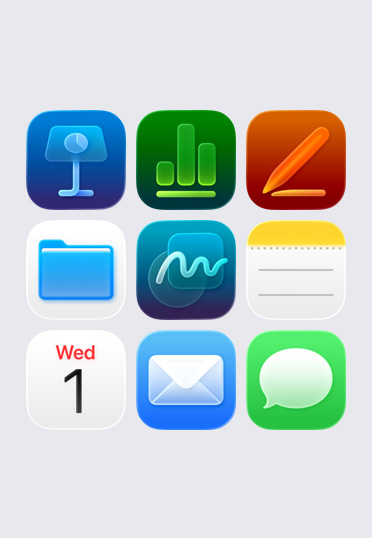
Built-in apps like Notes, Keynote, Freeform and Pages help you take notes, create presentations, collaborate on group projects and conquer your coursework.
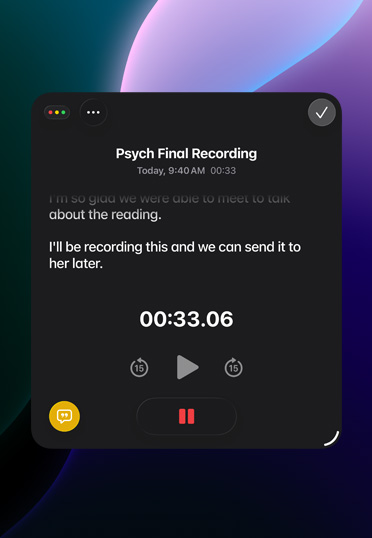
On iPad, Mac or iPhone, tap record in the Notes app to capture audio recordings. Then quickly generate a summary with Apple Intelligence to reference later.3
Available in selected languages
Made with durable recycled aluminium, Mac and iPad are designed to stand up to whatever uni throws at them. So you can rely on them long after graduation.

Take Mac and iPad with you wherever your day takes you — from student halls and the library to the café. And if your device ever goes missing, you can easily track it down with the Find My app.

Apple silicon delivers impressive speed and AI performance, while fast unified memory and storage enable quick access to files. Mac and iPad can handle what you need now, and are ready for what’s next.
Regular macOS and iPadOS updates deliver new features and help avoid crashes, ensuring that your device runs smoothly and securely for years to come.

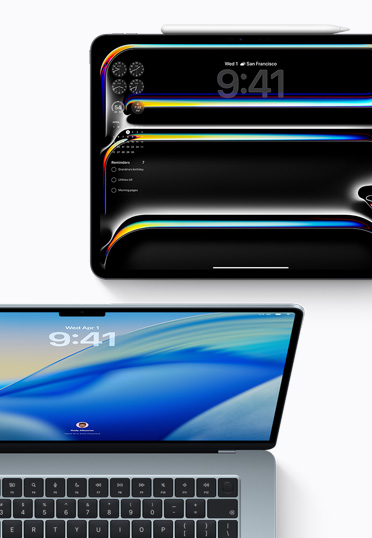
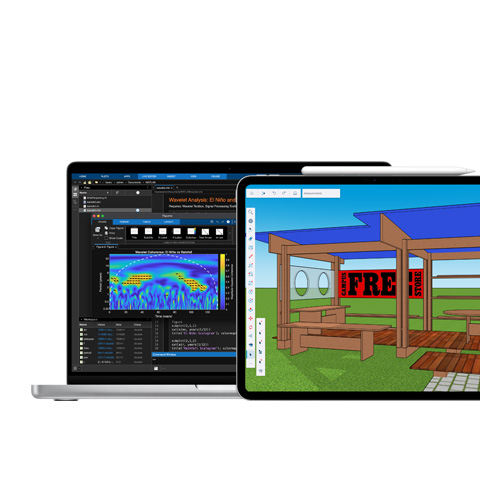
Control both your Mac and iPad using a single keyboard and mouse or trackpad with Universal Control. Create designs in Autodesk AutoCAD on Mac, then slide your cursor to iPad to make precise edits with Apple Pencil.
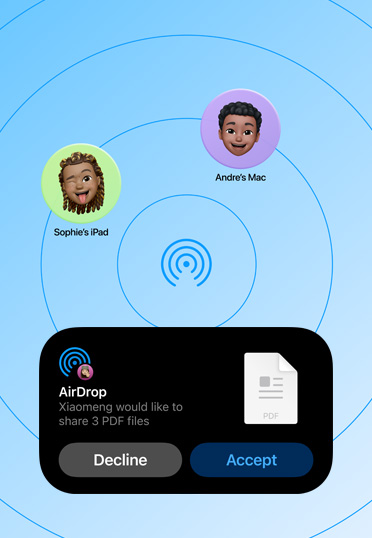
Share photos and large files via Bluetooth between your iPhone, iPad and Mac, and with other students’ nearby Apple devices. No internet needed.

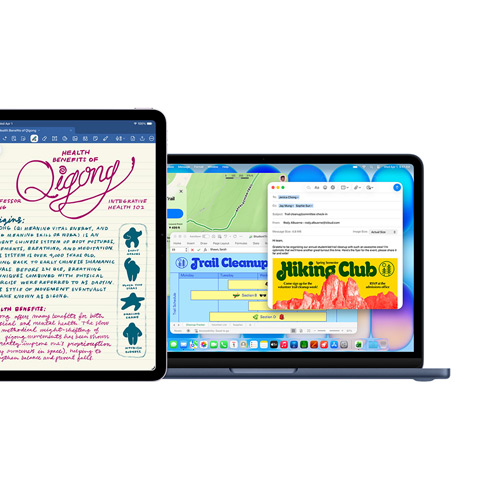
With Sidecar, you can use your iPad as a display that extends your Mac desktop. So you can work in one app while you reference another or mirror the screens so they display the same content.
Goodnotes, Mail, Microsoft Excel, Maps
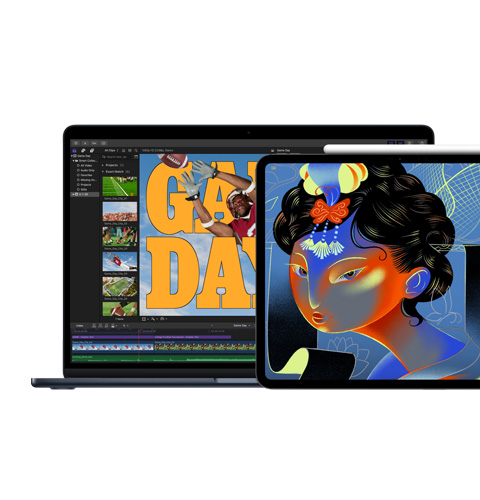
Final Cut Pro, Procreate Dreams
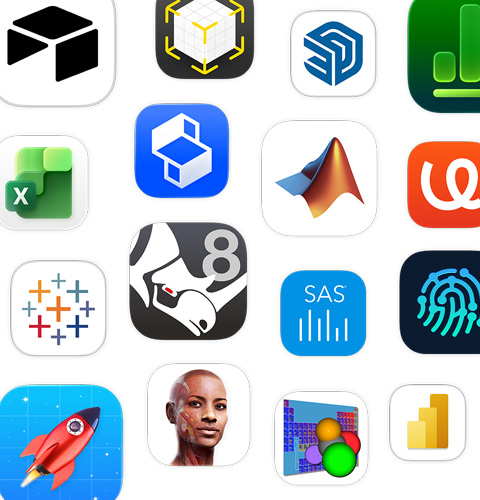
MATLAB, SketchUp
Keynote, Msty Studio, Pixelmator Pro
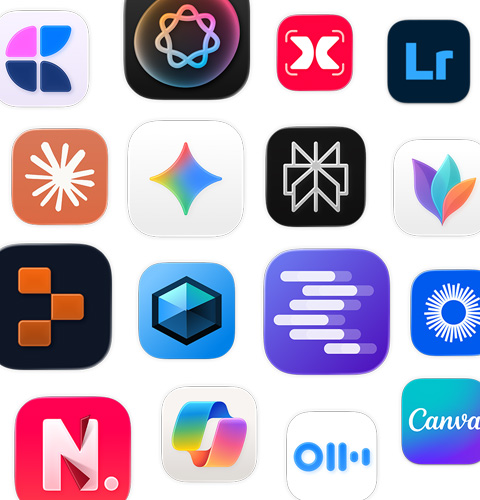
Xcode

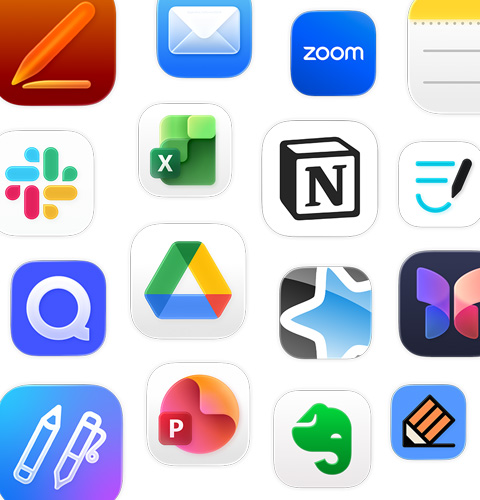
Run your favourite productivity apps — from Google Workspace for Education, Goodnotes and Microsoft 365 to Notability and Slack.
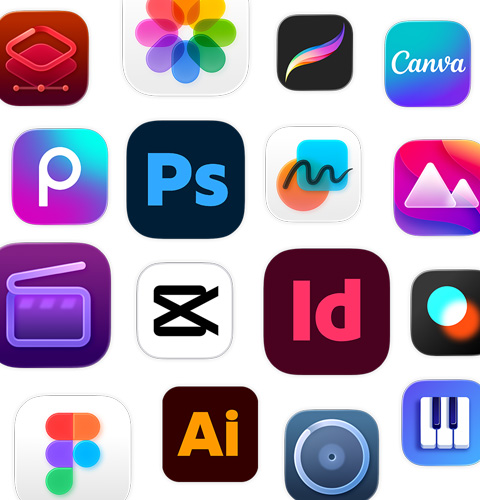
Whether you’re designing a zine or creating a full-length film, apps like Final Cut Pro and Pixelmator Pro bring your projects — and side hustles — to life. Unlock our full collection of creativity apps with Apple Creator Studio.
Analyse data with MATLAB, create designs in Autodesk AutoCAD, craft models on iPad using Apple Pencil with Shapr3D, and study anatomy in 3D with Complete Anatomy.
Make quick work of your to-do list with AI-powered workflows like ChatGPT integration into Apple Intelligence and generative AI apps including Gemini and Canva AI.
Available in selected languages
Start coding with Python. Develop and distribute apps with Xcode. And develop software and experiences with Docker, PyTorch and Unity Editor.
Mac is built to run powerful apps and comes in multiple models and sizes, each with several ports to connect high‑speed accessories and external displays.

iPad is great for multitasking on the go, taking video, and connecting from anywhere through Wi-Fi or a mobile network. Pair with Magic Keyboard, or Apple Pencil to draw, write and take notes.


On Mac, select the text you want to refine, Control-click the selected text, then choose Show Writing Tools.
Tip: To open Writing Tools in some apps — like Notes and Mail — you can hold the pointer over the selected text and click , or click in the toolbar.
Available in selected languages
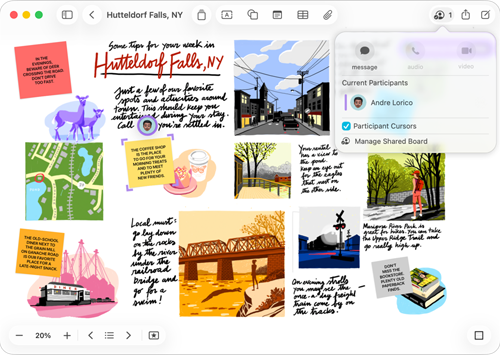
You can put just about any kind of file in a Freeform board without worrying about layouts or page sizes. To collaborate, invite others to start working together in real time on a board.
If you’re working in an app and want to write something down, you can easily create a Quick Note. Do one of the following:
To close a Quick Note, click in the top-left corner of the note. To open the Quick Note again, use any of the methods above.
To always create a new Quick Note (instead of opening the previous one), choose Notes > Settings, then deselect “Always resume to last Quick Note”.
Note: Although you can customise the Home folder, you can’t customise other folders that come with your Mac, such as Applications, Library, System and Users.
Note: Spoken words in supported languages are automatically transcribed. If you don’t see , your iPad either doesn’t meet the minimum requirements or doesn’t detect a supported language.
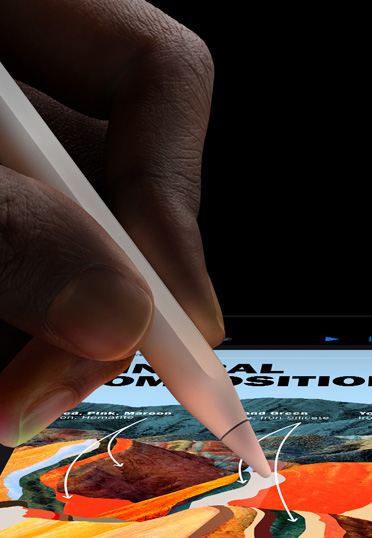
To refine your image, tap a description, then edit it. To save it, tap Done.
Note: Apple Intelligence is not available on all iPad models or in all languages or regions. To access the most recent available features, make sure you’re using the latest version of iPadOS and have Apple Intelligence turned on.
Learn more about Image Wand on iPad
Available in selected languages
Turn Intelligent Breakthrough & Silencing on or off.
When Intelligent Breakthrough & Silencing is on, Apple Intelligence allows important notifications to interrupt you and silences notifications determined not to be important. Any notifications specifically allowed or silenced will always be allowed or silenced.
If you added the Reduce Interruptions Focus, Intelligent Breakthrough & Silencing is already turned on (and can’t be turned off). See Summarise notifications and reduce interruptions with Apple Intelligence.
If you keep Focus up to date across your Apple devices, the changes you make on your Mac are reflected on your other devices.
Available in selected languages
On your Mac, you can:
If you turned off “Show recent apps in Stage Manager” in Stage Manager settings, the list of apps on the left is hidden. Move the pointer to the left edge of the screen to show it.
Every Apple product is built from the ground up to protect your privacy and to give you the freedom to choose what you share and how you share it.
Our products and services are designed for everyone, with built‑in features to help you do what you love, your way.
Apple products are made from recycled materials and shipped in 100% fibre-based packaging.